Configuring pine to filter out spam


Mail arriving at Imperial is passed through a spam analyser before it reaches the central MS Exchange servers. The analyser (Spam Assassin version 2.60) examines the envelope, the mail headers and body content of every message, applying several hundred tests to rate the likelihood of the message to contain spam (otherwise known as UCE, or Unsolicited Commercial Email). It then inserts the results of its analysis into the the mail header, a part of the mail message that is normally hidden to users and contains important information about the message that is used by mail software to route the message to its destination.

Many mail clients will allow you to set up filters or rules to intercept incoming mail and process them according to a defined set of actions and pine is no exception.

Configuring pine's filter rules

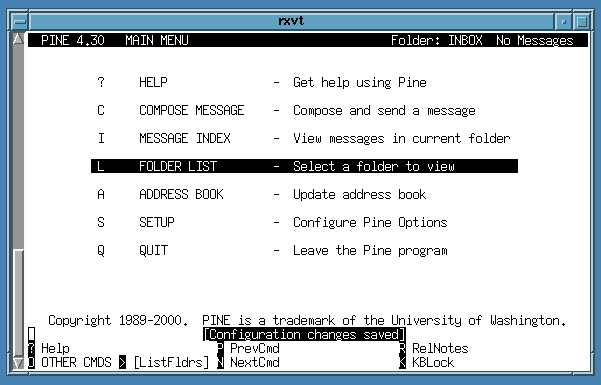
  1. Start up pine in the usual way by typing pine at the UNIX prompt

    the Pine start screen

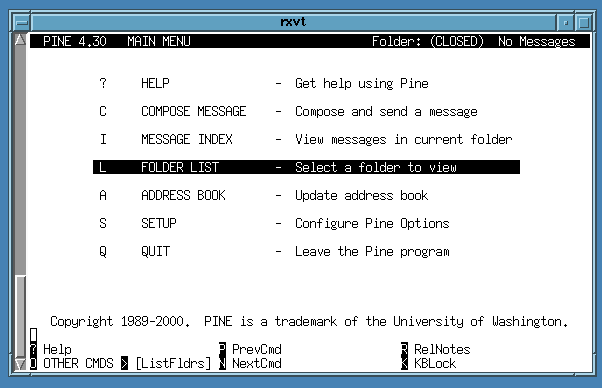
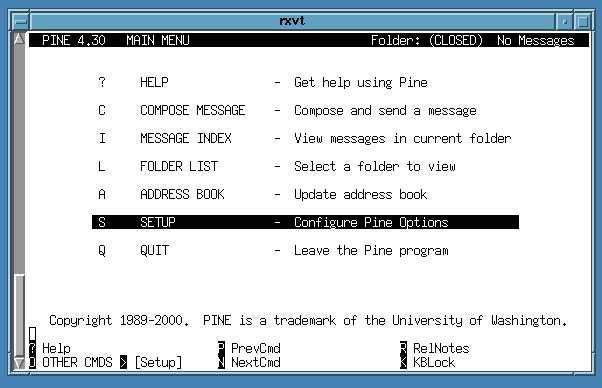
  2. Now select the S SETUP option using your cursor keys (or type the letter S)

    start screen with setup option highlighted

  3. and you will be presented with the setup menu

    the setup menu screen


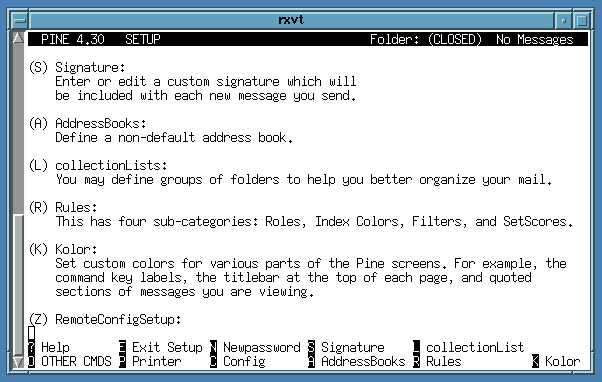
  4. scroll down the menu with your cursor key to see the rules option if you wish (as it is normally hidden out of view near the bottom of the configuration menu) or simply type the letter R to select it.

    setup menu scrolled down to show the R option


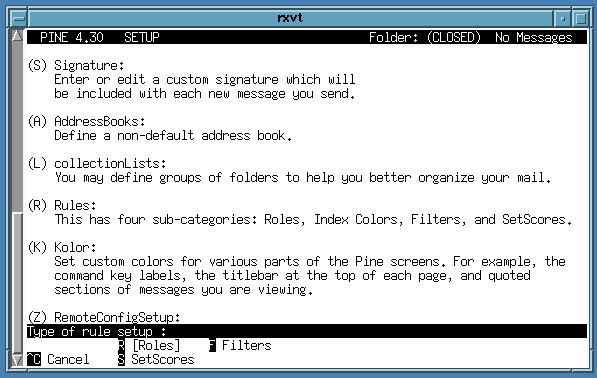
  5. After pressing R you will be prompted for the type of rule you want to set up:

    setup screen showing sub-options for the R rule option

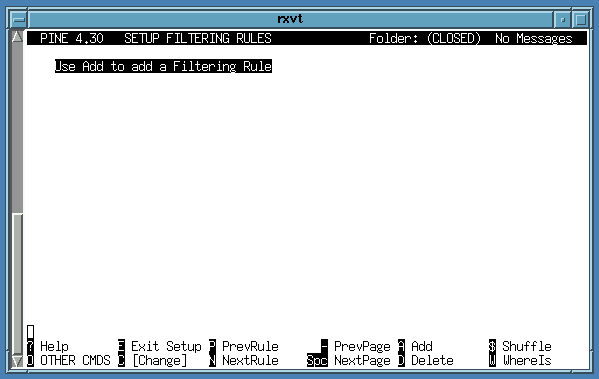
  6. Now press F to add a new filter rule

    the filter sub-option is selected

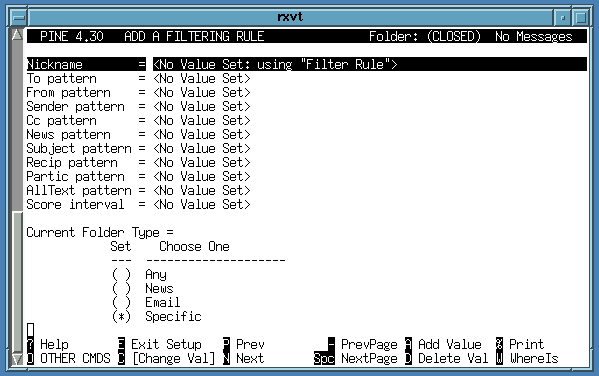
  7. Press A to add a new rule:

    the add new rule filter option configuration menu

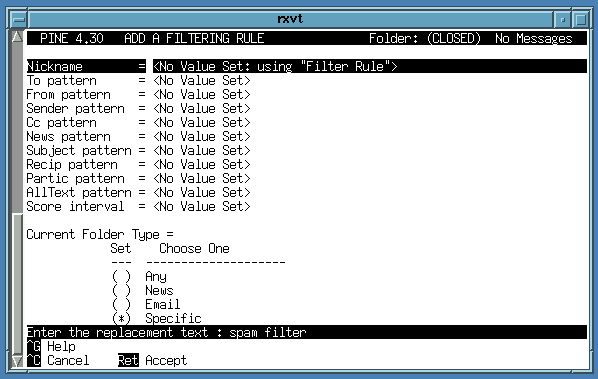
  8. Now you'll see the Nickname option highlighted; press return or type C to give your new filter rule a name - something like 'spam filter' would be a good choice:

    adding a nickname to the new ruule

    and press return to confirm the name of your new rule.
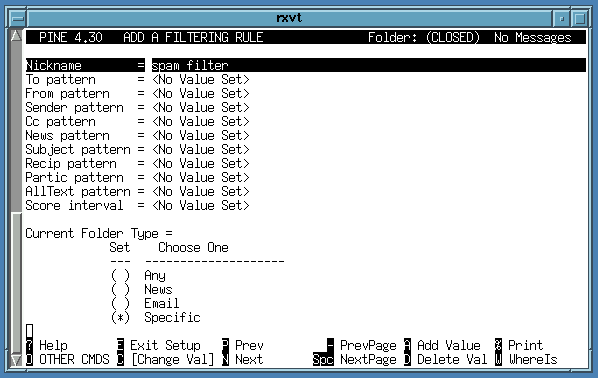
    confirming the nickname for the new rule

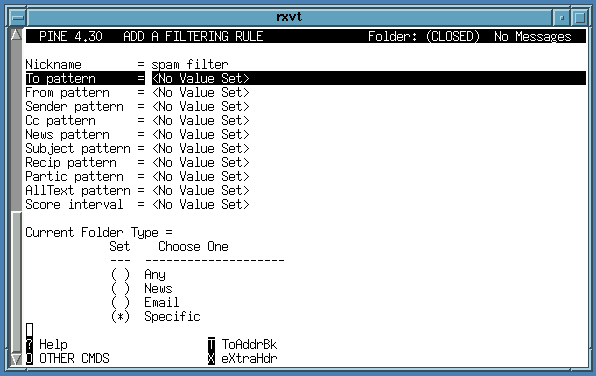
  9. Now move the cursor to any of the pattern lines below the nickname configuration option

    choosing a filter match pattern

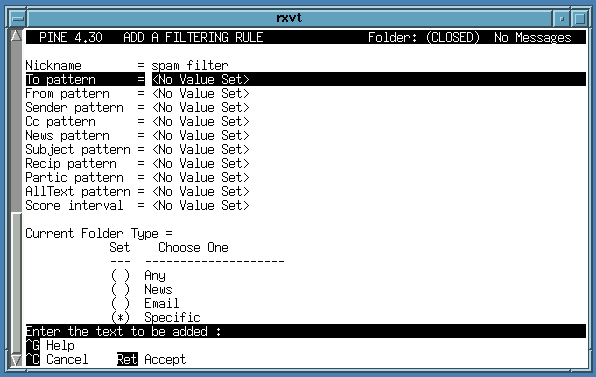
  10. and press X to add an extra pattern to the header:

    email i'to address' pattern selected

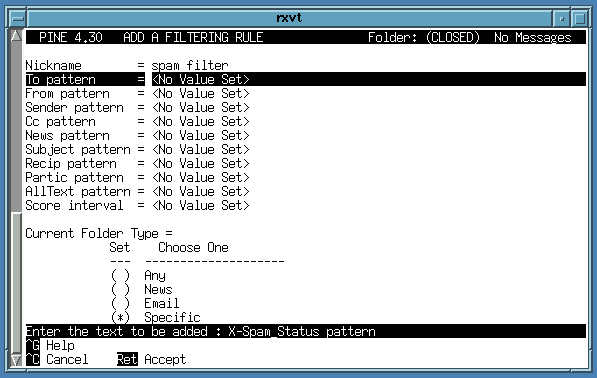
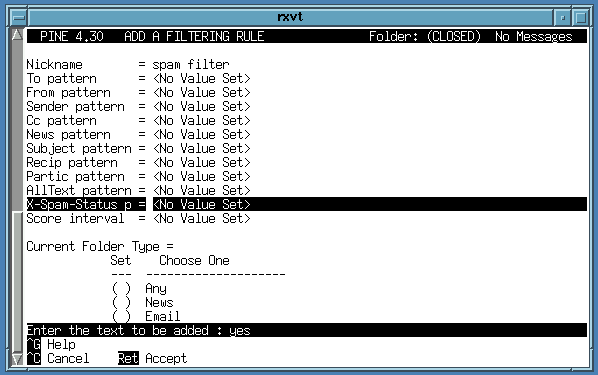
  11. Type in the phrase X-Spam-Status pattern

    adding the X-Spam status pattern

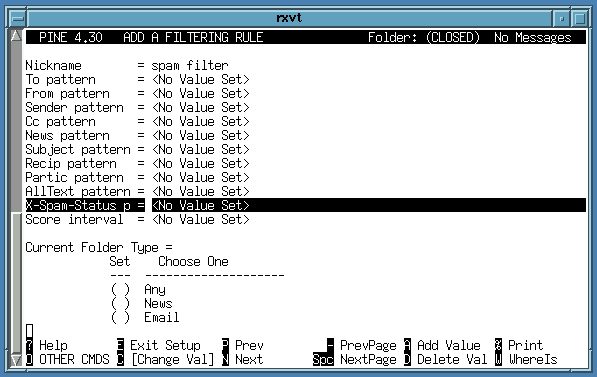
  12. and press return to confirm your new header.

    confirximning the new pattern

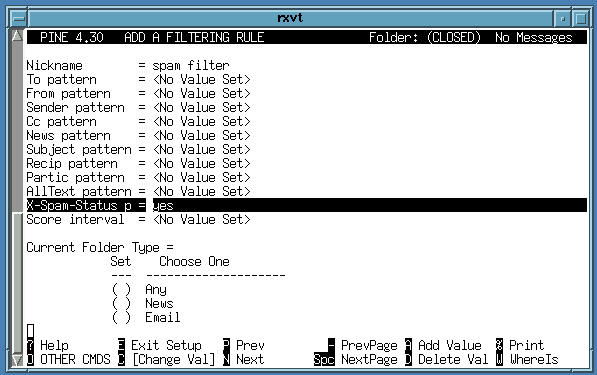
  13. With the X-Spam-Status pattern you have just added still highlighted, press C to change the value to Yes:

    adding 'yes' to enable the new pattern

  14. and press return to confirm.

    confirming pattern enable action

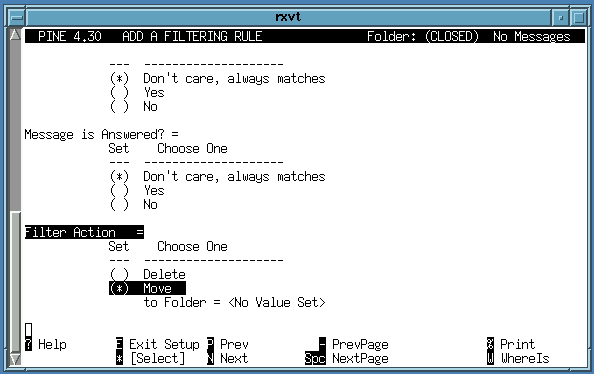
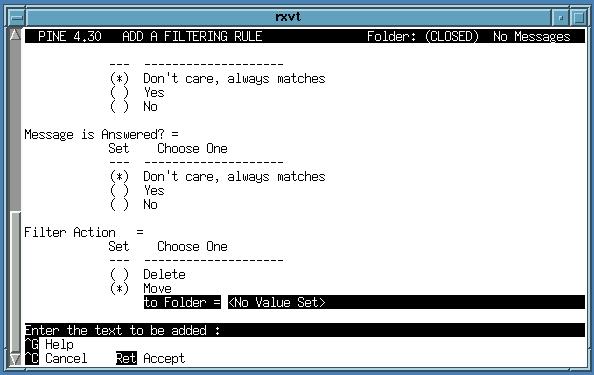
  15. Now scroll down the configuration menu (accepting all the default settings along the way) until you reach the section entitled Filter Action = and select the Move option by pressing *

    choosing the fliter action

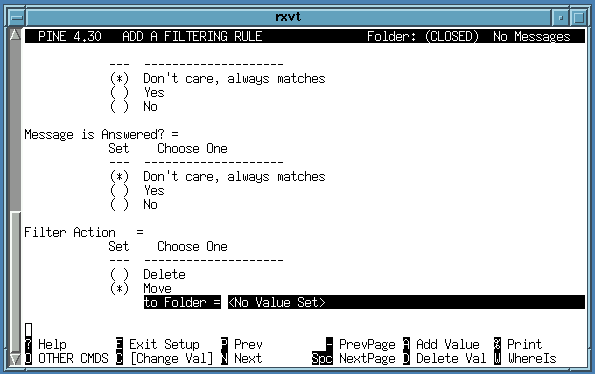
  16. Now move down one line to the to Folder = option

    choosing the destination folder to move spam into

  17. and pressing either C or return...

    entering the spam folder name dialogue

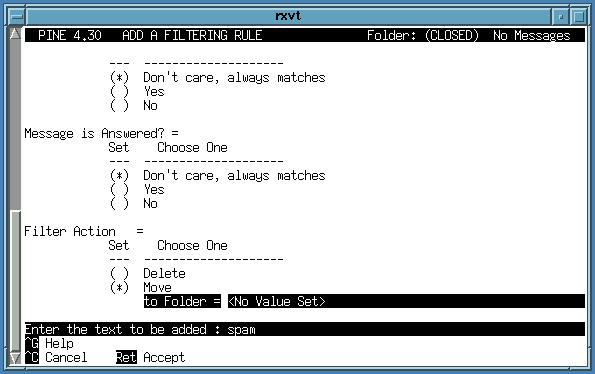
  18. ...type in the name of the folder you would like pine to automatically filter spam-marked messages into; 'spam' might be a good name:

    adding the spam folder name

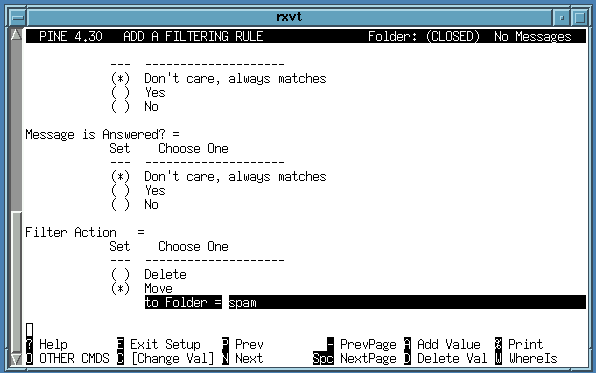
  19. and press return to confirm.

    confirming the spam folder name

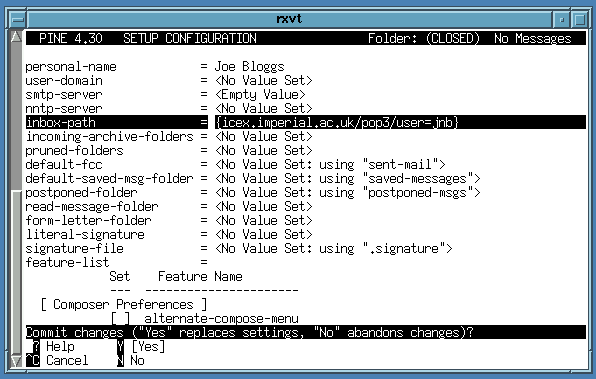
  20. Now press E to exit from setup ...

    exiting setup

  21. ...answering yes when prompted.

    and back to the main Pine screen

pine will now detect any messages whose X-Spam-Status flag is set to 'yes' and automatically move the message to the 'spam' folder. Once you are sure that the system is correctly detecting and removing spam from your inbox, you can if you wish return to the pine rules configuration menu and change the filter action so that it deletes all messages marked as spam:
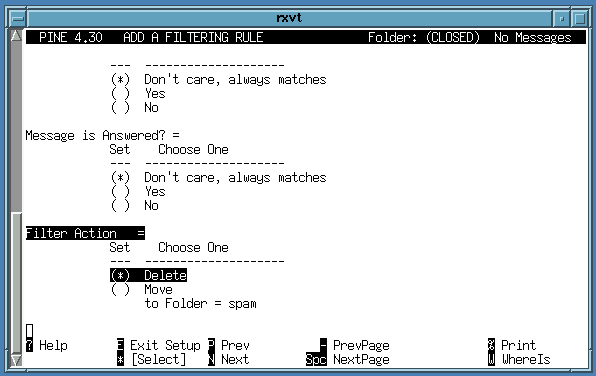
reconfiguring spam filter action to delete rather than move spam messages


Andy Thomas

UNIX/Linux support,
Faculty of Natural Sciences

last updated: 11.5.2021